

So, you may have seen a few new jewellery shots popping up on the Beautiful Plumage blog recently. This shoot was the first for our new brand Cutworks. It has meant that I needed to learn how to Photograph small things. Fast. Here are my top tips for successful accessory photography…
The Rules…
No. 1: Good Lighting
Natural, outdoor light is the cameras best friend but a studio setting (complete with studio lighting) also works. Equipment including spotlights and light reflectors can help to deliver a whole spectrum of lighting shades. I like playing with a 2 sided reflector which has 1 gold and 1 silver surface, meaning you can quickly flip it to reflect either warm or cool light on to your subject/object. The reflector light is soft and subtle but definitely effective.
No. 2: Background is Key
An objet d’art (or Design for that matter) usually looks best with a plain, white background. Check out this photograph of the pair of iconic Louboutin shoes below. This style of image keeps the focus solely – pun totally intended – on the object and is favoured for editorial features and promotional shots.
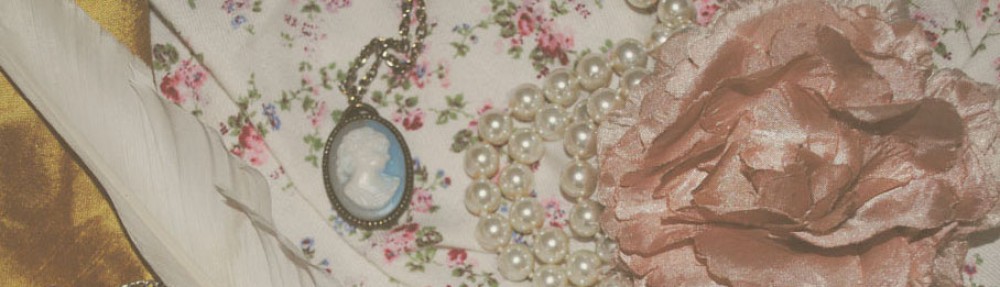
An exception to this however may be when you want to imply a certain mood/theme/culture link for a shoot or object using the background as a tool in itself. Jewellery often looks good with a contextual background e.g. jewellery box setting, fabric or a (relevant!) body part. Thoughtfully placed background objects can be helpful in illustrating product size to the customer and can also resonate or amplify your brands ethos. As an example: you could set the scene for a streetwear fashion jewellery shoot by finding a cool graffed background to add that urban style to your shot.

Above: practicing with composition and luxurious gold fabric background.
No. 3: Learn to use Photoshop!
(Or other photo-editing software.) It is so disheartening to spend hours mastering your angles, lighting and composition, and creating the perfect photograph… only to find a tiny spec of dust or a light reflection spot which spoils all of your hard work in the space of a pixel or two. Using a tool such as the clone stamp or healing brush allows you to rectify these imperfectons in seconds – although it is worth saying – don’t expect miricles, a bad blurry photograph is still a bad blurry photograph, no matter how many filters you put on it!
I hope this has been helpful – happy snapping!
+++++++++++++++++++++++++++++++++++++++++++++++++


 Handmade plum satin blouse (from a vintage Vogue pattern), vintage leopard print blouse and vintage black across the shoulder bag.


