
The royal purple bridesmaid dress by beautiful plumage looks fantastic and received lots of compliments on the day. Congrats to the lovely bride and groom too, it was great to hear you had a lovely wedding day 🙂
The royal purple bridesmaid dress by beautiful plumage looks fantastic and received lots of compliments on the day. Congrats to the lovely bride and groom too, it was great to hear you had a lovely wedding day 🙂
A few weeks ago I created a post showing my ultimate festival fashion wish list. Well, as luck would have it, I have just inherited a pair of Hunters (which were actually top of said list). The Hunter brand sits alongside other UK greats such as Barbour and Mulberry in terms of brand heritage, countryside sport inspiration and classic yet practical style.
The initial products from these companies were mostly designed for hunting and fishing, hence the super practical design features. For example, Barbour jackets have an easy pull 2 headed zip for horse riding, waterproof inside pockets (for holding kill) and outside pockets with drainage to stop them filling up with rainwater when out facing the unpredictable English weather for several hours at a time (out on a hunt – see the theme there?)
Some of these features still remain whilst other product lines develop in more glamorous ways. The Willow bag from Mulberry has a zip off clutch bag meaning you buy 2 fabulous bags in one. Practical, yes, but in a much more urban way.
All 3 companies also have a well publicised celebrity following. Kate Moss is pictured regularly at Glastonbury in Hunters, Alexa totes her best selling Alexa Mulberry bag around the coolest places in town and, well, Barbour wins with The Queen being an official fan.
I realise that the sunshine needs to be appreciated but I really can’t wait to stomp around in the mud in these! I’ll be teaming with tall socks, denim cut of levis, a pretty oversized tee and a floral garland (such as the one I picked up from Bestival last year, below).


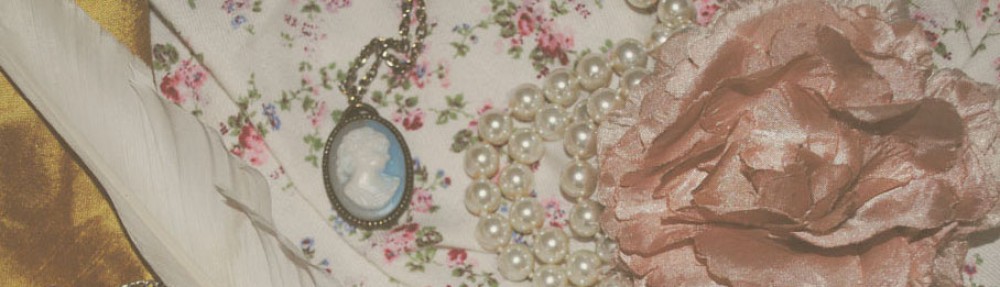
The Beautiful Plumage Vintage collection is super stocked and I’m proud to say, looking more fabulous than ever! We’re really excited about setting up stall at a few more Vintage fairs now that spring has arrived. Here are some new additions to the range…

Handmade brushed-cotton playsuit made with vintage floral fabric, (styled with vintage tan leather belt), tan and cream vintage bag, polkadot tie at the waist summer blouse.

Handmade floral crop top (modelled on an 80’s version). Vintage burgundy bag and scarf.
 Handmade plum satin blouse (from a vintage Vogue pattern), vintage leopard print blouse and vintage black across the shoulder bag.

Customised vintage liberty print dress, white and gold italian vintage belt, handmade midnight blue floral make up bag and handmade/laser cut Beautiful Plumage jewellery.

Details of upcoming Vintage Fairs to be added soon xxx


You will need…
The materials I used for this were 90% recycled: fabric cut offs and a square piece of unwanted plastic mesh. Luckily the fabric scraps were a gorgeous charcoal grey colour which matches my living room perfectly! The mesh had holes of about 2cm x 2cm, you can find similar online.
Hope you enjoy this project – if you have any technical questions feel free to comment below and I’ll get back to you asap xxx


